
How to Train Your Ear for Reverb Decay and Room Size
5 min read
Most producers can tell when a mix is “too wet” once someone points it out. Far fewer can say whether a vocal plate is decaying in one second or in two, or why the same reverb sounds natural on one song and washed out on another. Reverb is easy to add and hard to judge, because what you hear is the sum of several things at once. The fix, as with compression, is to take it apart and train each piece separately.
This is one piece of the broader case for training your ear for mixing.
What you’re actually hearing
A reverb is a space: the sound bounces around, and those reflections fade out over time. Three properties do most of the work:
Decay time. How long the tail takes to die away. It’s usually measured as RT60, the time it takes for the reverb to fall by 60 dB. Rough reference points: a small room sits around 0.3 to 0.6 seconds, a typical vocal plate around 1.2 to 2 seconds, a large hall 2 seconds and beyond.
Room size. The impression of how big the space is. It’s tied to decay, but also to the density and spacing of the early reflections: a big room sounds big even before the tail kicks in.
Pre-delay. The gap between the dry sound and the start of the reverb, typically somewhere between 0 and 50 milliseconds on a vocal. More pre-delay keeps the dry sound clear and “in front” of the space; no pre-delay glues it into the room.
On top of those, the wet/dry balance decides how loud the space is compared to the source, and damping (how quickly the high frequencies die in the tail) decides whether it sounds bright and airy or dark and distant.
Why reverb is hard to judge
The main problem is masking. While the music keeps playing, the tail is buried under the next notes, so you hear a general sense of “space” rather than a decay you can measure. The second problem is level: a longer reverb at a low send can sound “smaller” than a short one turned up.
That’s why reverb judgments made on a full, busy mix are unreliable, and why practice should start where the tail is exposed.
How to hear decay time
- Listen at the stops. Ends of phrases, breakdowns, the last hit of a fill. That’s where the tail is audible on its own.
- Use a clear transient. A snare or a clap makes the decay easy to follow. Count the tail out loud against the tempo: at 120 BPM a beat is 0.5 seconds, so a tail that lasts about four beats is around two seconds.
- Solo the return. Listening to the reverb alone, then back in context, quickly teaches you how much of it actually survives in the mix.
- Compare dry and wet. Toggle the send on and off, level-matched. Judge the difference, not the “bigger” feeling.
A simple drill
Put a reverb on a loop with a clear snare, set the wet level to something moderate, and have someone (or a randomizer) pick the decay without showing you.
- Stage 1, three buckets: short (under 0.5 s), medium (0.5 to 1.5 s), long (over 1.5 s). Get reliable here first.
- Stage 2, a log scale: guess the actual value. Decay perception works in ratios, so being off by 0.2 seconds at 0.5 s is a much bigger miss than at 3 s. Judge against reference points like 0.3 s, 1 s and 3 s.
- Stage 3, busy material: repeat on denser loops where the tail is masked.
Short tails are the hardest. Anything under half a second tends to read as “tone” or “room color” rather than as reverb, so spend extra time there.
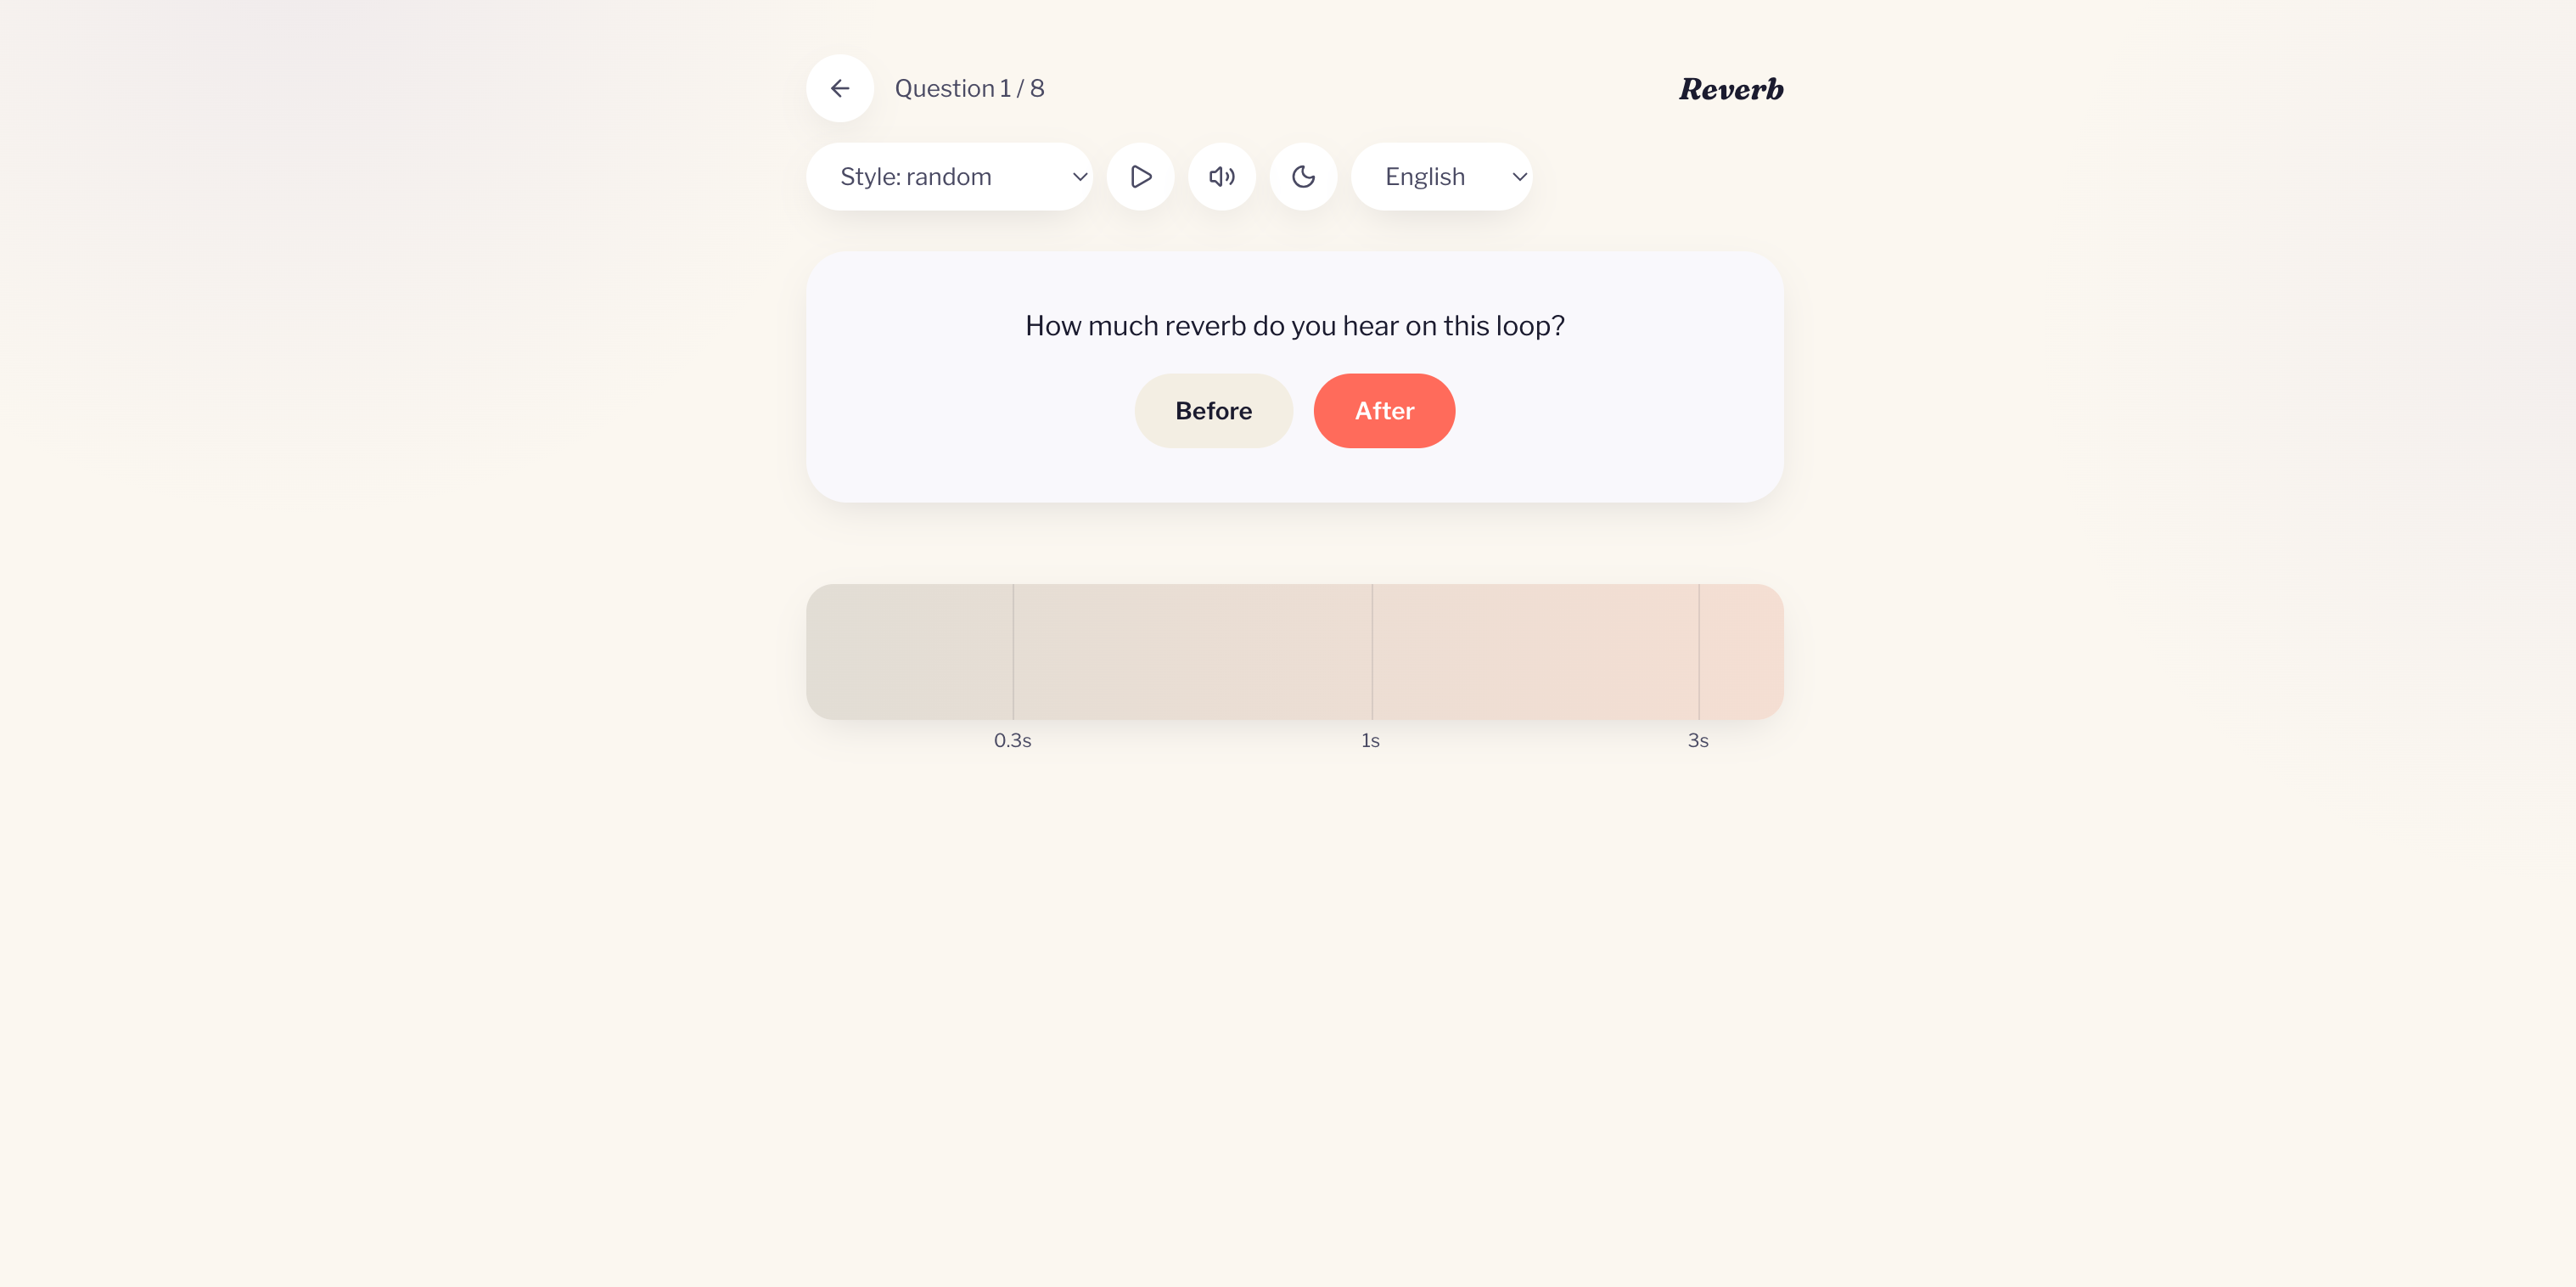
This is how the reverb category in Earlytics is built: a loop plays dry, then through a reverb at a fixed wet level, and you place the decay time on a log scale from 0.15 to 4 seconds. Early levels accept a wide margin and draw from a narrow range; higher levels use the full range and demand much closer guesses.
Hearing room size and pre-delay
Once decay is solid, move to the other two:
- Room size: compare two reverbs with the same decay time but different sizes. The bigger room has more spread-out early reflections and sounds more distant even when the tails are equally long.
- Pre-delay: on a vocal, sweep pre-delay from 0 to 40 ms and listen to the first syllable of each phrase. At 0 the consonant smears into the space; with some pre-delay it stays crisp and the reverb blooms behind it.
Common mistakes this training fixes
- Reverb that sounds fine soloed but muddy in the mix, because the decay is longer than the gaps in the arrangement
- Everything in the same space, when a short room on drums and a longer plate on vocals would separate them
- Reverb chosen by preset name instead of by the actual decay and size you hear
A trained ear for decay turns reverb from “add until it sounds big” into a deliberate choice: this tail should end before the next phrase starts.
Keep going
Reverb interacts with everything else in the mix, so it pays to train it alongside the rest. The compression guide and the EQ frequency guide use the same isolate-then-combine approach, and the free 2-minute ear test gives you a quick baseline on EQ, panning and compression.